Quick Start
Use this guide to import, upscale, and enhance your first video.
Import Your File
There are two ways to bring files into Topaz Video AI.
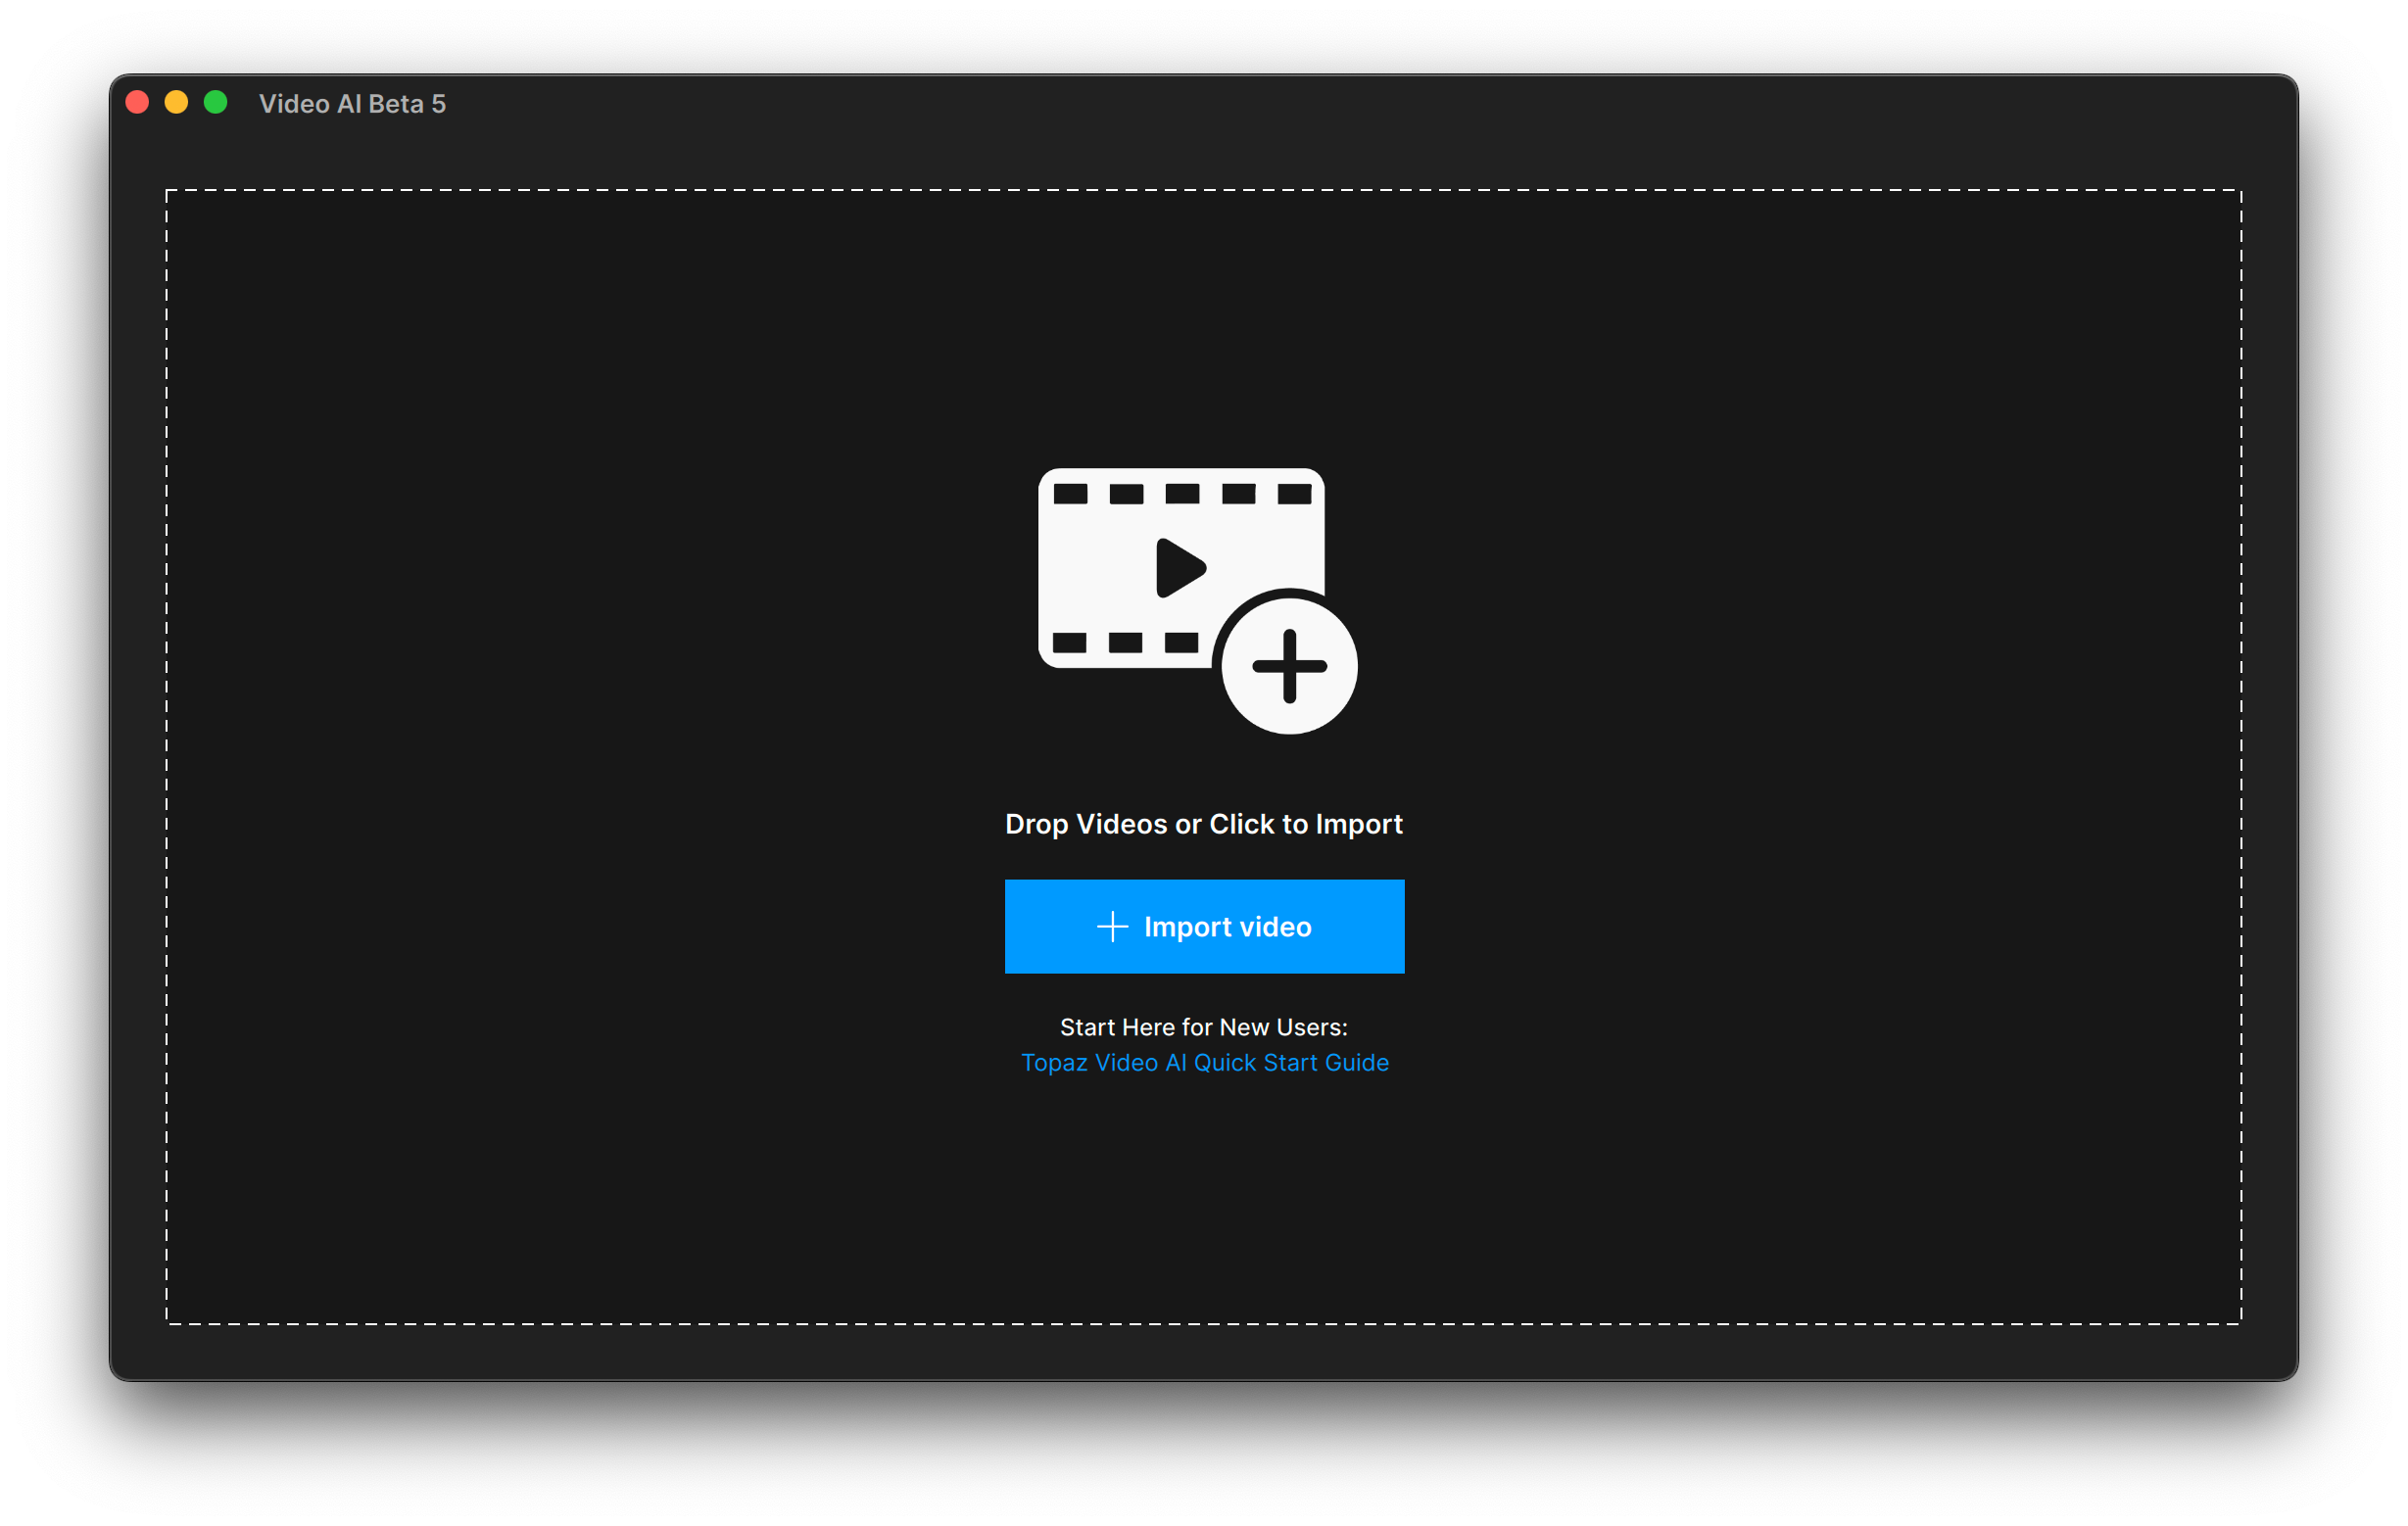
- Open the app and select Browse.
- Drag-and-drop files directly into the app.
Import an Image Sequence
- Make sure all frames are in one folder.
- Check that frames in consecutive order.
- At least 5 frames must be in the sequence.
Navigating the Sidebar
Get the result you want out of the app by using the settings in the sidebar.
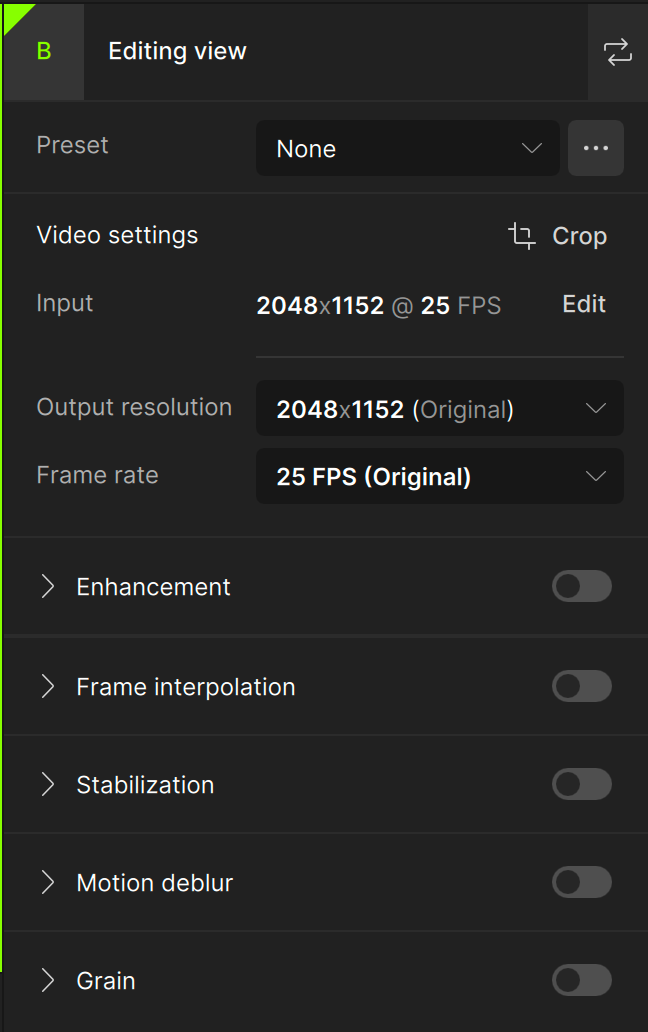
Video-In Menu
The "Video-In" menu will display the input file's resolution, aspect ratio, and frame rate. This area also includes controls for the Crop tool.

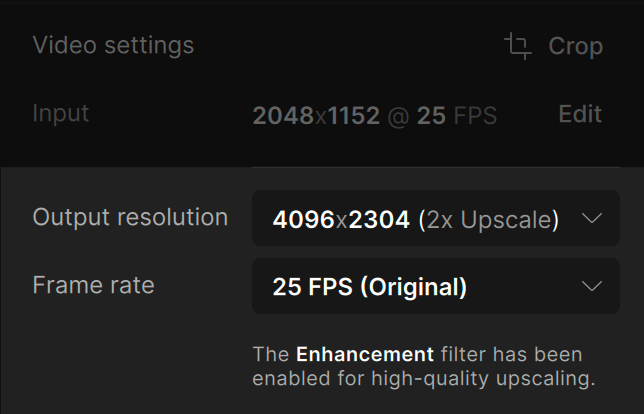
Video-Out Menu
The "Video-Out" menu allows you to alter the output file's resolution and frame rate.
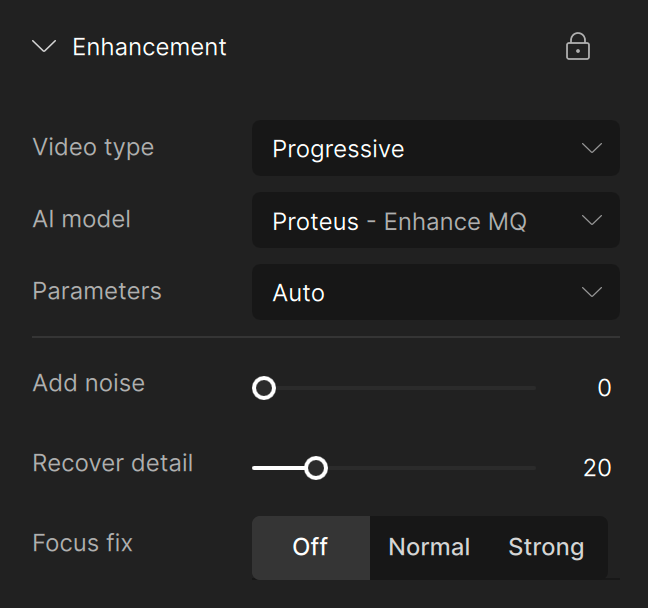
Filters
Each Topaz Video AI filter has been trained for a specific task, such as deinterlacing, adjusting the frame rate, or creating a slow-motion output.
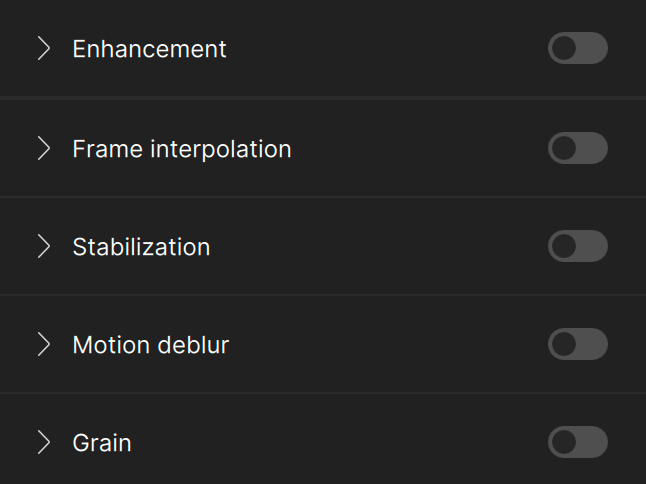
Use the toggle switch to enable the filter(s) you wish to use. We recommend a maximum of two filters per file for faster performance.
Learn more about Topaz Video AI filters.
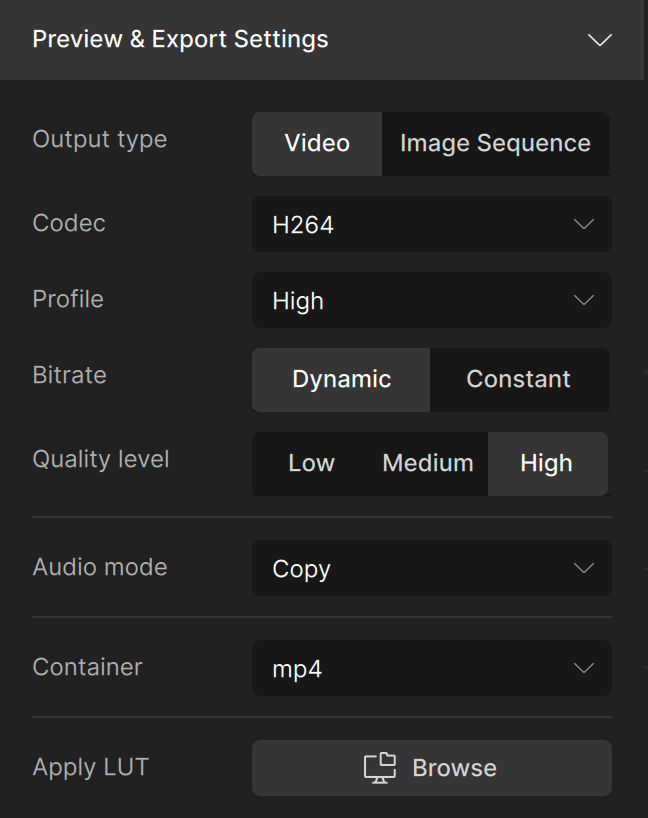
Output Settings Menu
The Output Settings menu will allow you to select the export Encoder, Container, and audio settings.
Learn more about Topaz Video AI's Encoders and Containers.
Preview Your File
To generate a preview, select the desired resolution, filters, and output settings and press the Preview button.
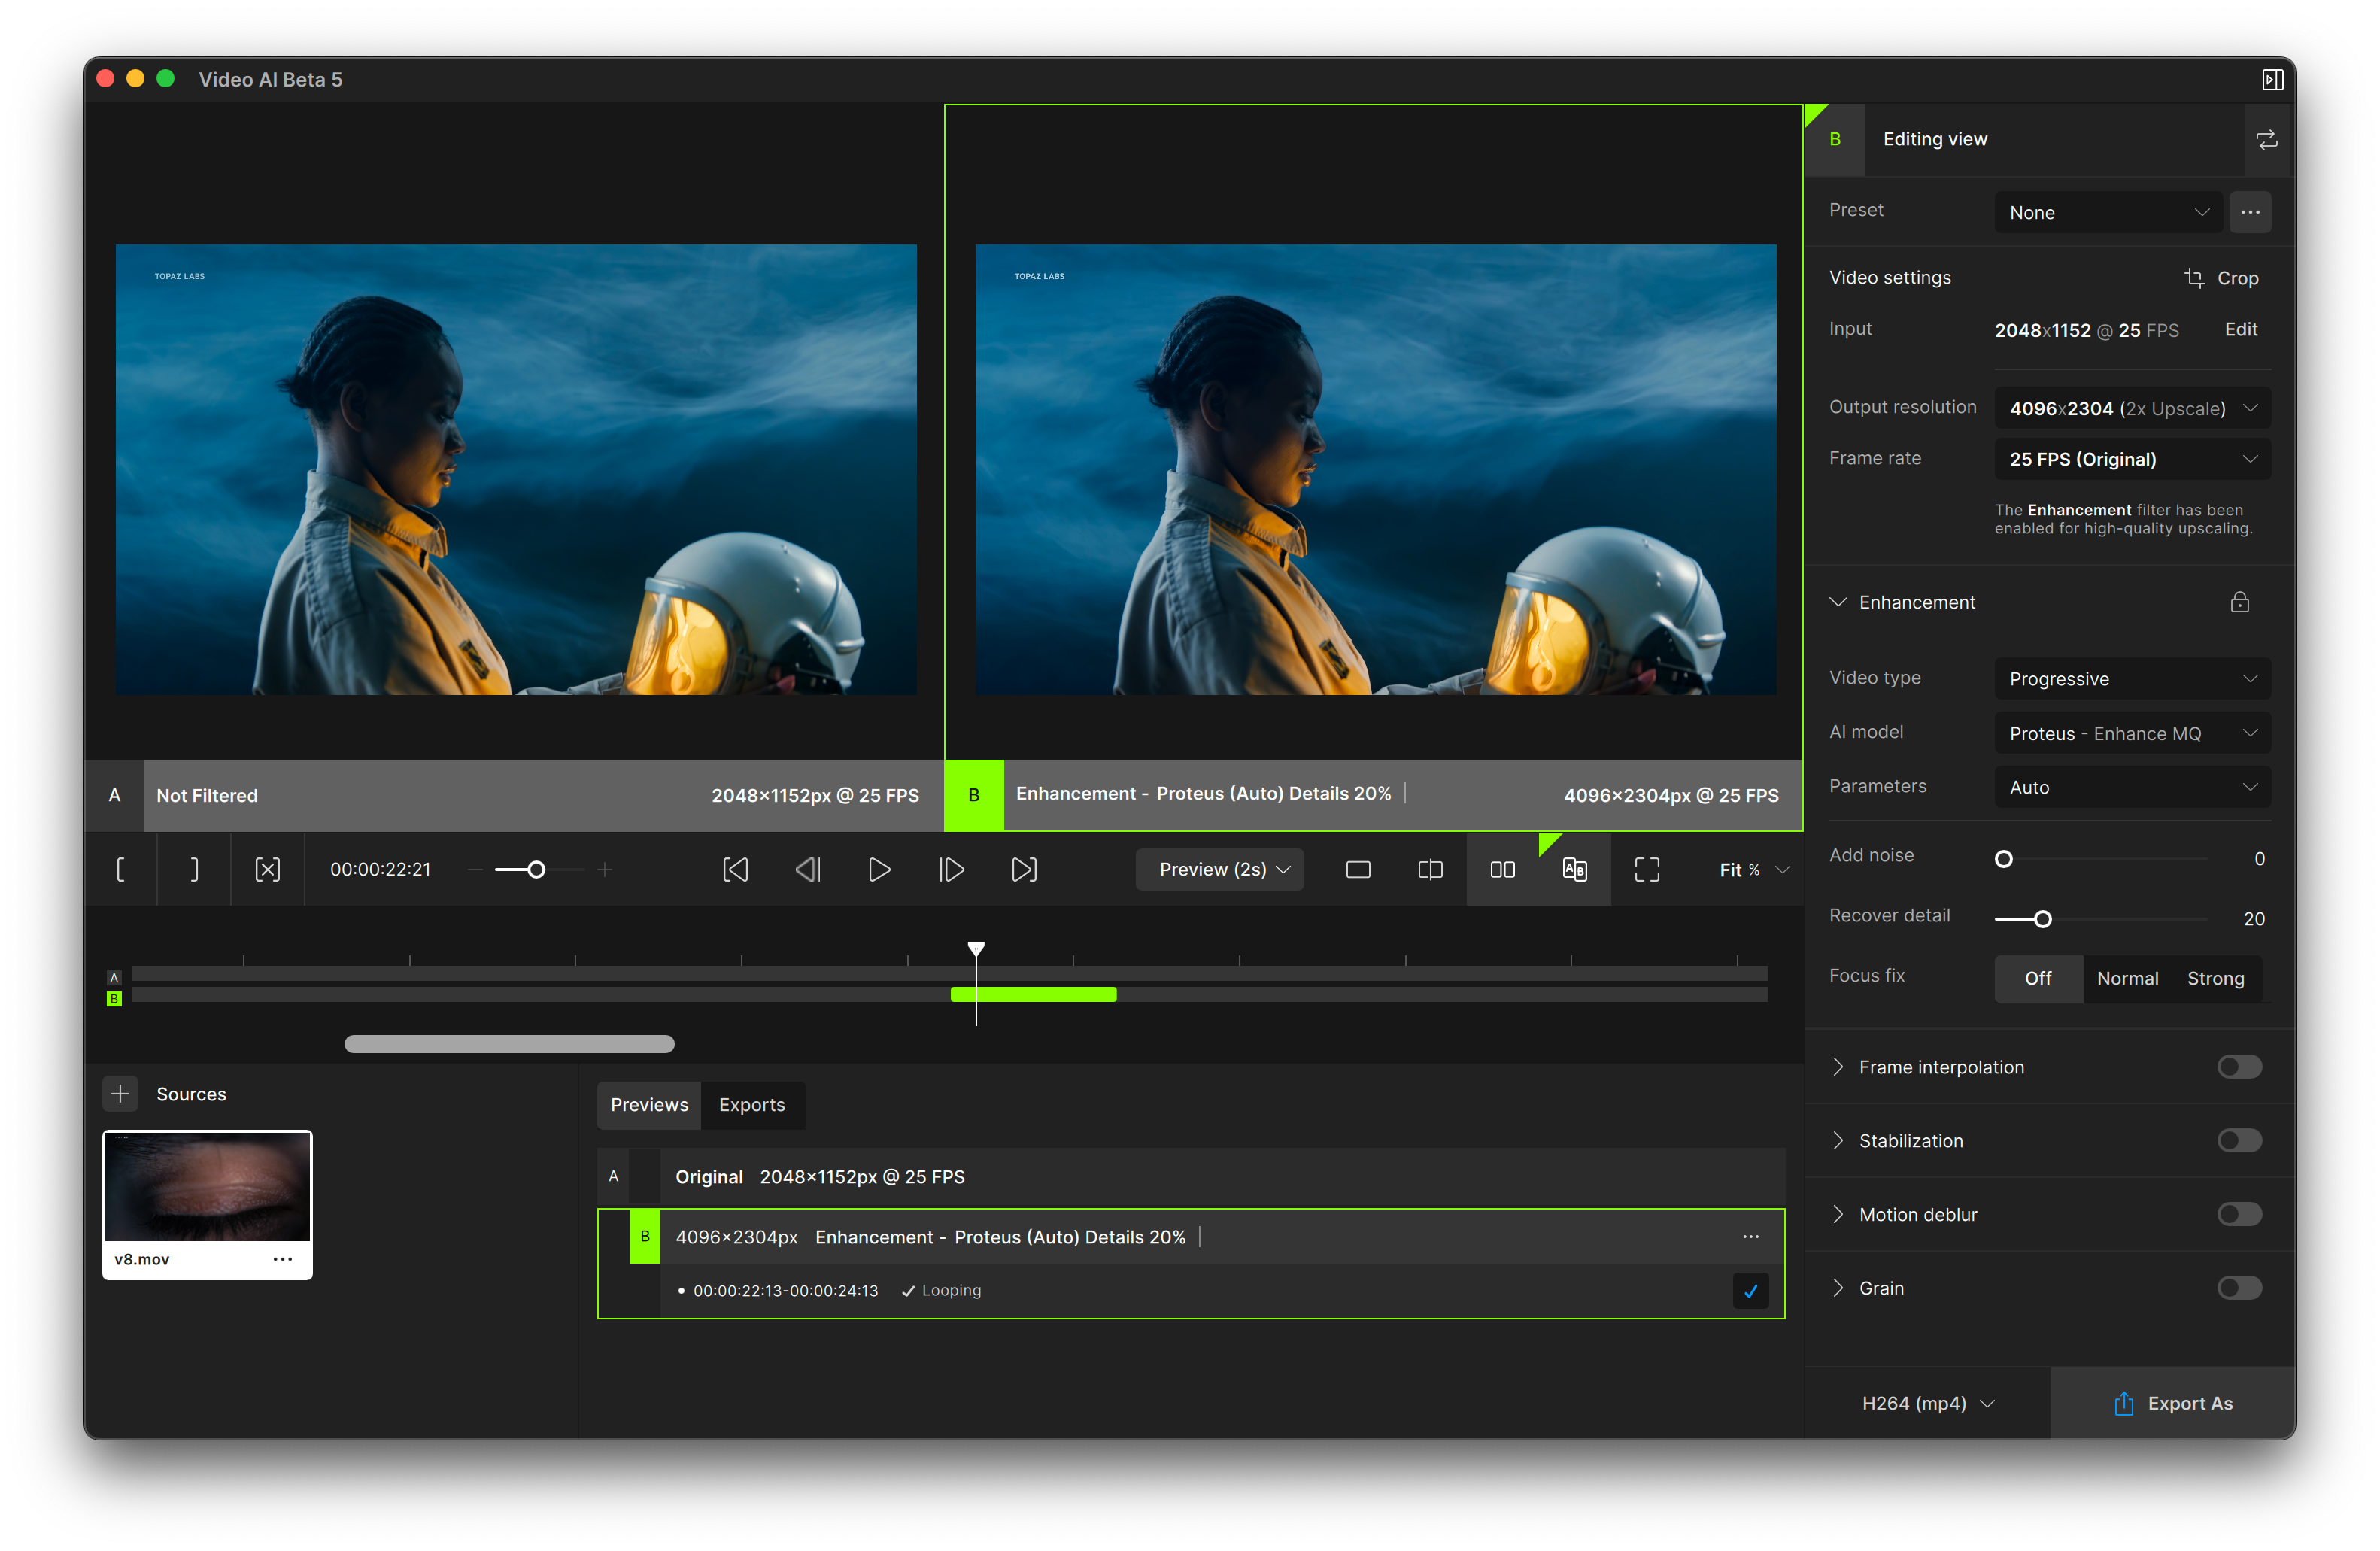
Select up to 30 seconds to preview. Adjust the view and zoom to inspect the results.
You can generate as many previews as you need. Progress for each preview will be displayed in the Previews library.
- A progress bar and an ETA will appear for each file.
- A green check mark indicates that the preview is complete.
To view the Preview using your default video player, double-click on the preview or use the triple dot menu to open an external player.
Export Your File
Once you have found the best settings for your file and you have inspected the preview, you are ready to Export.
By default, the exported file will be saved to the input file's location. You can select the carrot next to Export to choose Export As to change the save location.
The Export button will work on the currently selected view.
What's Next?
Congratulations on improving your first video! Learn how to use Topaz Video AI filters, encoders, and more: